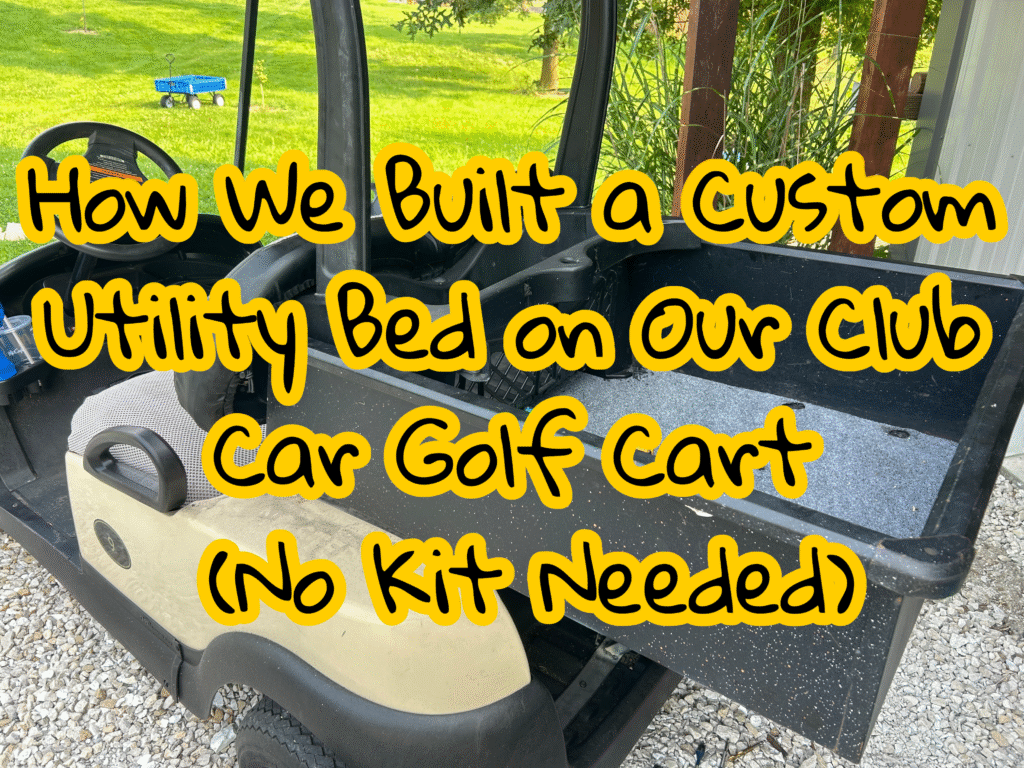
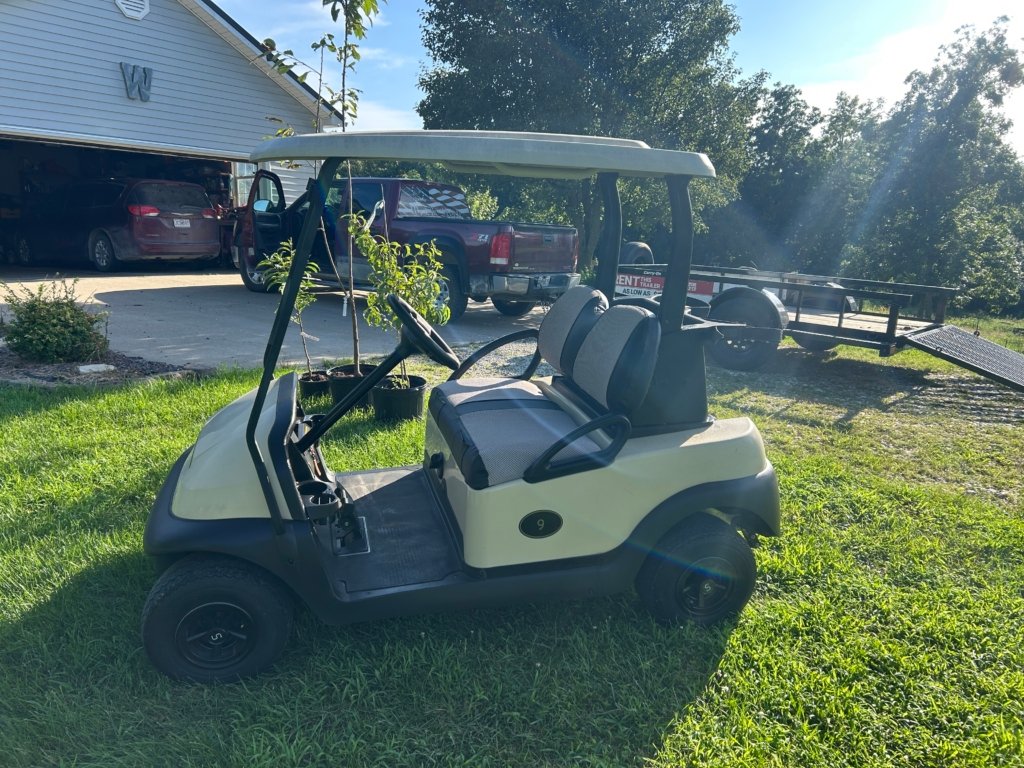
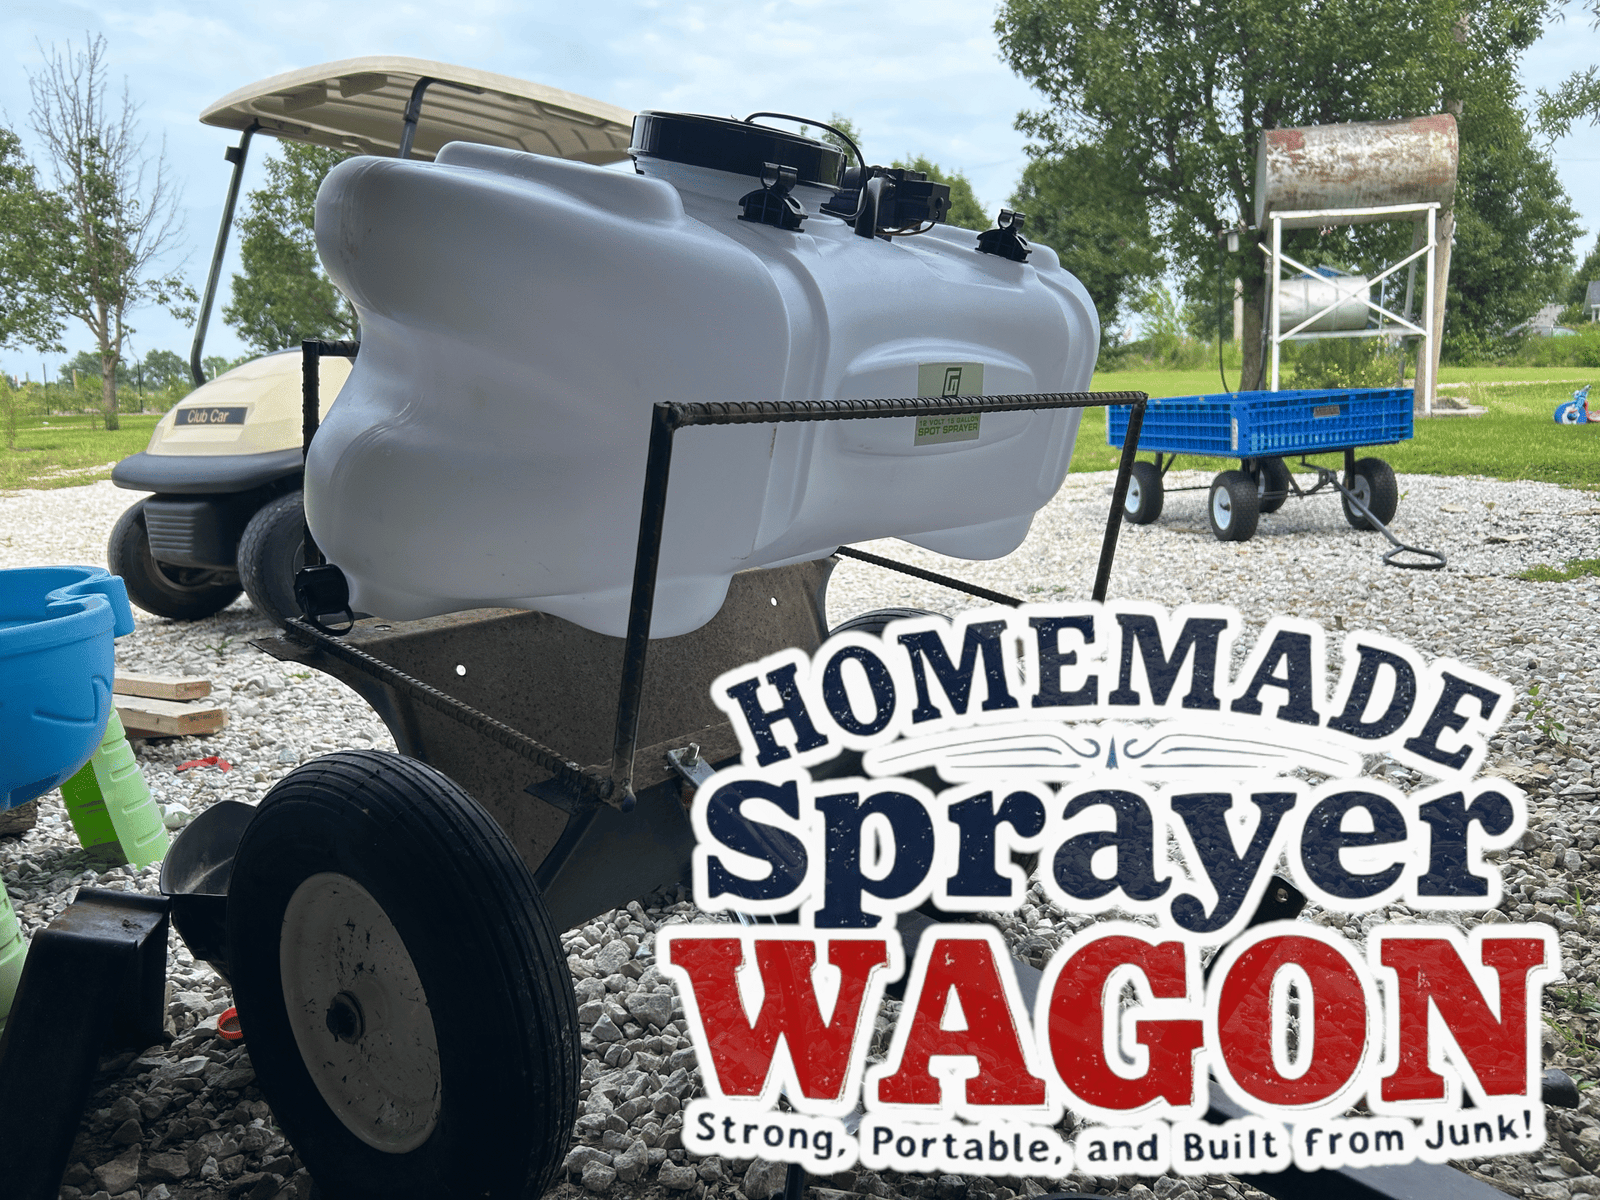
Getting Started: Meet Our 2013 Club Car Golf Cart
This isn’t some shiny showroom cart. Our Club Car’s got a few dings, some faded spots, and plenty of character—just like the rest of our farm gear. It’s gas-powered (thankfully, no worrying about dead batteries mid-job), and like most Club Cars, it’s got a body that’s mostly plastic.
Plastic Isn’t Made for Farm Work
If you’ve ever tried to mount something onto one of these golf carts, you know what we’re talking about. That plastic rear seat and body panels had to go. To build something strong and secure, you’ve got to get down to the metal frame, which meant stripping a lot of stuff off first.
But that’s all part of the fun. Right?


The Tools and Materials We Used to Build This Thing
This wasn’t some high-dollar fab shop setup. We used what we had—and what we didn’t have, we got cheap.
Our Go-To Gear for the Build
- Steel square tubing (cut to size)
- MIG welder (yep, the cheap one off Amazon)
- Grinder with cutting wheel
- Corded drill and metal bits
- Bolts, nuts, washers
- Tape measure, clamps, basic hand tools
- And a whole lot of coffee
If you’re wondering what specific gear we used, here are the exact tools we had on hand:
👉 DEWALT Angle Grinder – this thing gets used weekly here 🔧
👉 Our favorite dirt-cheap welder – tough, reliable, and easy to use ⚡
🛠️ Just so you know: Some of the links in this post are affiliate links. That means if you buy something through them, we may earn a small commission—at no extra cost to you. It helps support our small family farm and all our DIY madness.
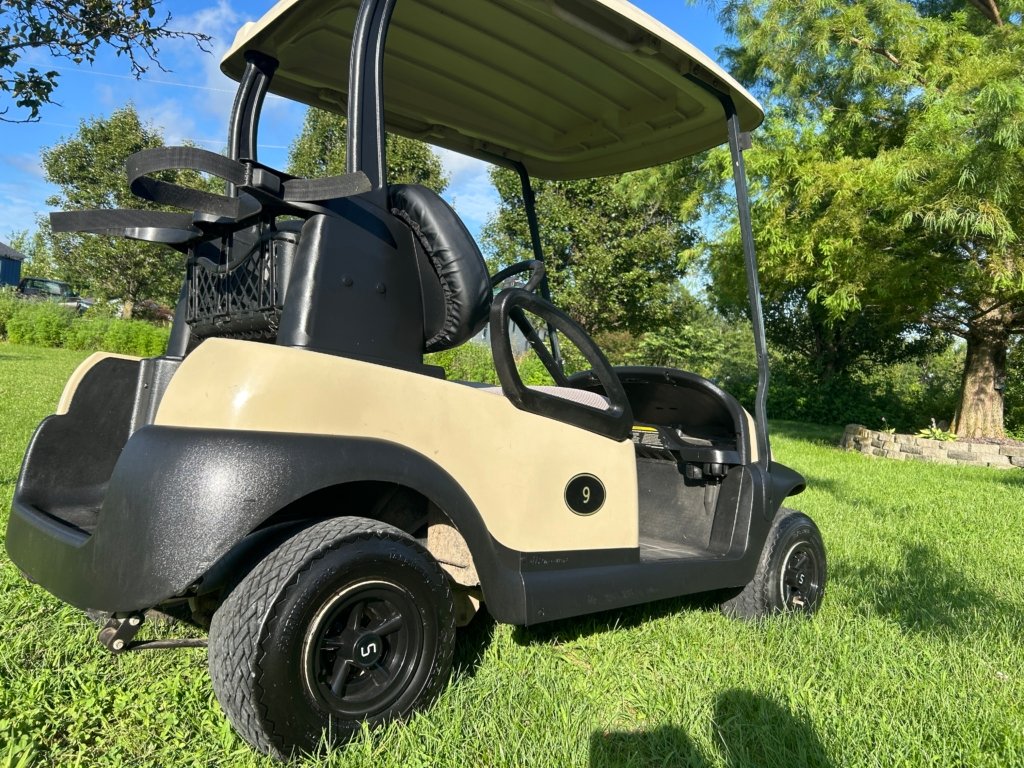
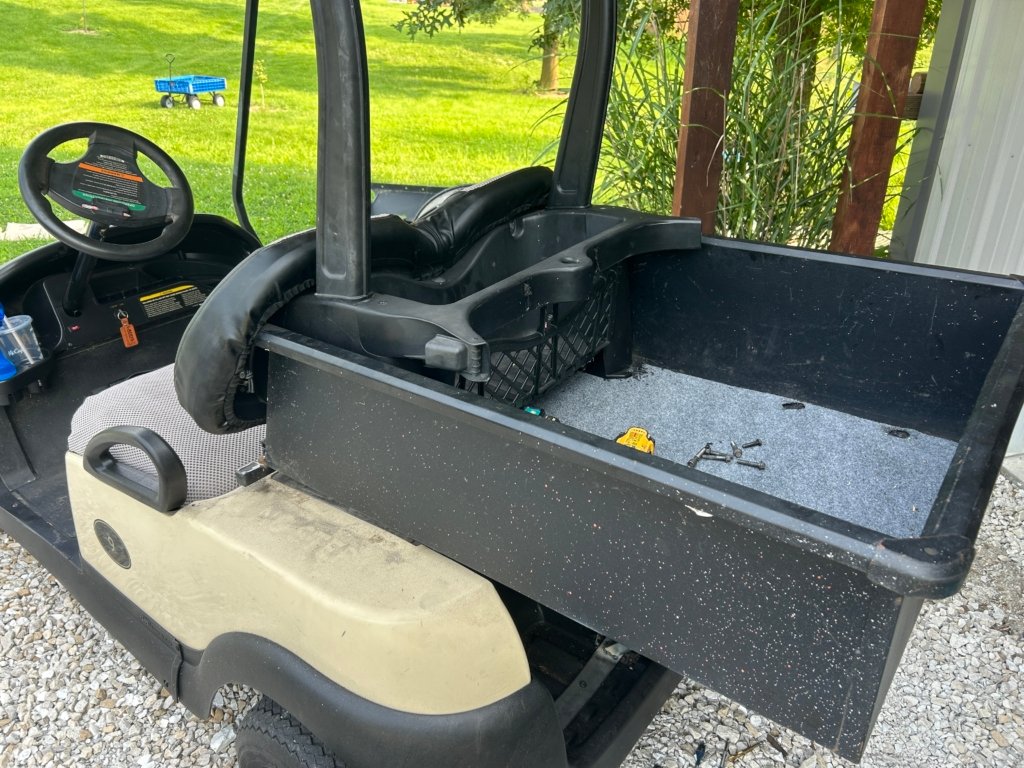
Stripping the Cart: Making Room for Real Work
Here’s where things got messy. We had to remove nearly every piece of plastic from the back half of the cart to get to the actual frame. That included the back seat, the trim, and several panels that were held on with stubborn bolts (and a few that felt like they were welded on by the devil himself).
Once we got down to bare metal, we could finally start visualizing what the frame needed to look like. It’s a bit intimidating at first, but once you get through the tear-down, the rest starts to come together like a puzzle.
Pro Tip From Us
If you’re doing this at home, keep your bolts and parts organized. We tossed ours in a coffee can—very high tech. But hey, it worked. Just don’t be like us and knock it over halfway through.


Building the Steel Frame for the Utility Bed
This was the backbone of the whole project—literally. Once the plastic was stripped and the frame was exposed, it was time to start cutting and welding steel tubing to create a solid base for the new bed.
We measured carefully (triple-checked actually), cut the tubing to size with the grinder, and began to weld the steel frame directly to the Club Car’s exposed structure. We also added some bolt-in support braces just in case anything needed adjusting later.
Welding Tip from the Farm
If you’re new to welding, don’t stress—just go slow and steady. That little 140A MIG Welder we used? It’s cheap, it’s light, and it worked like a champ on this whole project. We’ve used it for everything from fence repair to building chicken coop frames.
A good weld is like a good biscuit: not too crumbly, not too tough.

Repurposing an Old Garden Cart: Farm Smart, Farm Cheap
Instead of buying an expensive cargo box or building one from scratch, we grabbed an old lawn tractor utility cart we had sitting out behind the barn. The wheels were shot and the axle was toast, but the metal bed itself was solid.
We flipped it over, cut the bottom off, and were left with just the steel tub—exactly what we needed. It fit almost perfectly on the steel frame we’d just finished, and we made a few minor tweaks to make it line up better.
Can’t Find One Like We Did? Try This:
If you don’t have an old garden cart laying around, check your local Facebook Marketplace or junkyard. But if that doesn’t work out, there’s also a solid ready-to-go option:
👉 Universal Steel Golf Cart Cargo Box – bolt it down and get to work 💪
Welding and Bolting It All Together
With the frame ready and the cart bed modified, we began mounting the utility box onto our steel frame. We chose to weld the back corners for strength and bolt the front so we could remove it later if we ever wanted to modify or clean underneath.
The combo of welds and bolts worked beautifully. We even added a few small cross braces underneath to help support the weight of heavier loads like firewood or water buckets.
What We’d Do Differently Next Time
Honestly? Not much. Maybe we’d add a rubber mat or some type of liner to prevent scratching the paint off the cart bed (ended up thinking about that later into the project as you can see it’s in our video we made)
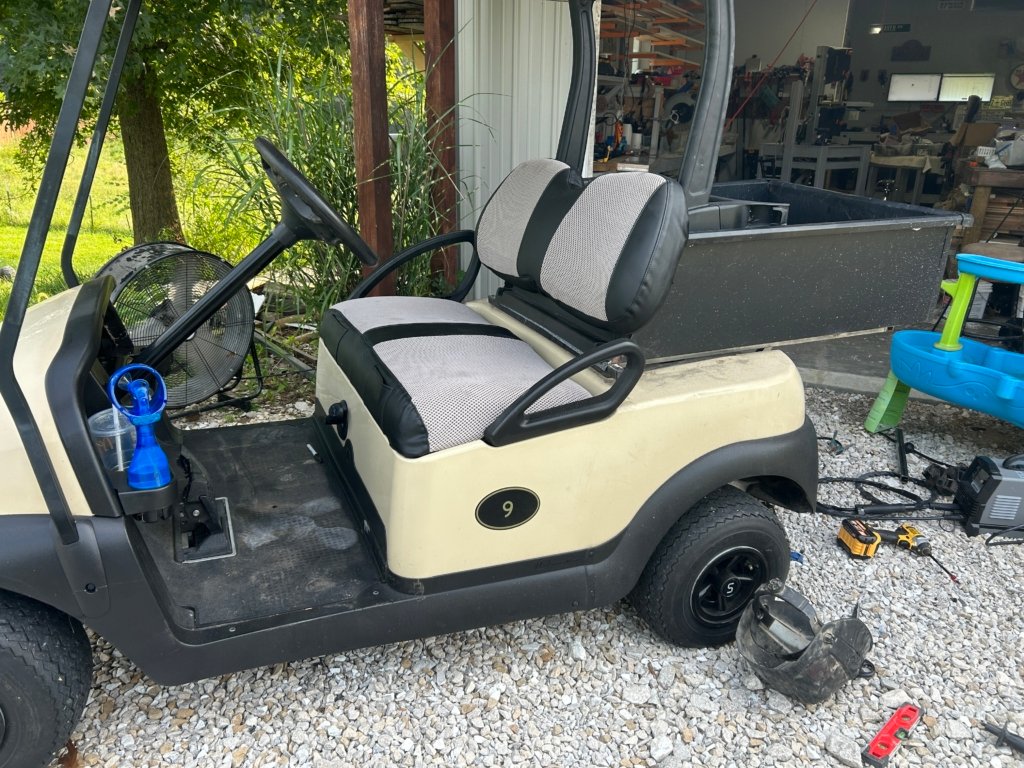
Seeing It Come to Life: Our Golf Cart Becomes a Hauler
After hours of cutting, grinding, welding, and bolting, we stood back and looked at what used to be a plastic-clad golf cart… and now it was something else entirely.
We had turned a lightweight Club Car into a custom hauler that’s actually useful on the farm. It can handle loads of wood, tools, fencing supplies, feed bags—you name it.
No More Trips Back and Forth
Now, instead of dragging a wagon behind us or making multiple trips, this thing gets it done in one haul. That’s a serious time saver when the to-do list is already longer than the day.
And yes—we might’ve driven it around the yard a few extra laps just to admire it.


Putting It to Work on the Farm
Once the bed was fully installed and solid, we didn’t waste any time—this cart went straight to work. Whether it was hauling hay to the barn or loading it with firewood for the house, it handled everything like a champ.
We’ve since used it to carry feed buckets, scrap metal, fencing tools, and even a sleeping dog who decided the new utility bed was his new favorite ride. He’s not wrong—it’s surprisingly smooth, even when loaded down.
Everyday Farm Chores, Made Easier
If you’ve got a property like ours, you know how much time is spent walking back and forth with your hands full. This upgrade has cut our hauling time way down, and that alone makes it worth every hour of the build.
How It Compares to Store-Bought Golf Cart Upgrades
Let’s be real—there are some fancy bolt-on cargo kits out there. But most of them are plastic, cost several hundred dollars, and still need some kind of mounting system.
We built ours for less than $150 in materials, using steel tubing we had lying around and an old utility cart. The result? Way stronger, custom-fit, and it actually holds up to real use—not just driving around the backyard.
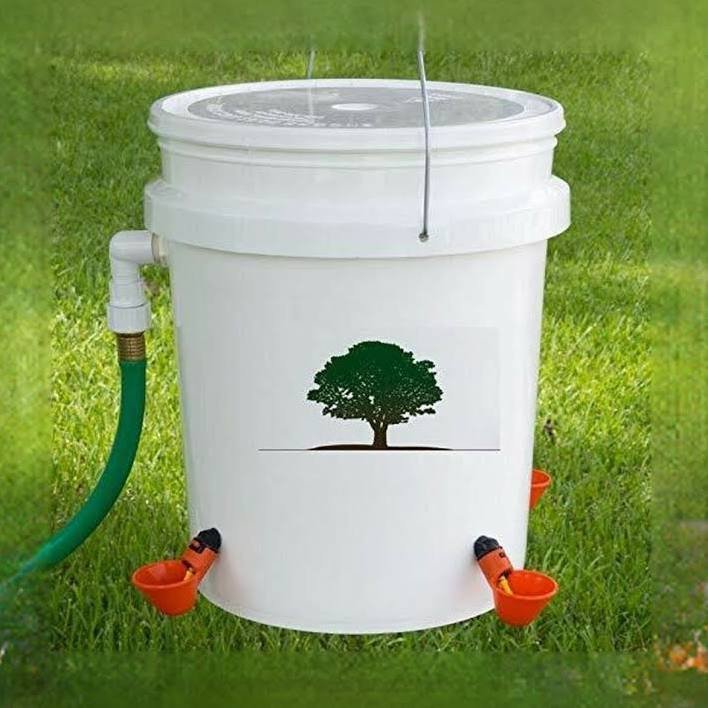
👉 If you’re looking for another useful farm DIY that doesn’t break the bank, check out our DIY 5-Gallon Chicken Waterer Guide—that thing saves us daily.


More Handy Projects for Rural Life
This golf cart build isn’t our first rodeo—we’re always looking for new ways to improve life on the homestead.
If you’re into hands-on projects that save money and time, here are a few more you might like:
- 🧊 Transfer Water When the Hose Is Frozen
- ❄️ How to Keep Chicken Water From Freezing
- 🚪 DIY Gate Fix with a Wheel (Total Game-Changer)
- 🌾 Our Guide to Backyard Homesteading
We believe in working with what you’ve got, and turning “that’ll never work” into “well, would you look at that!”
Watch the Full Build (Video Inside!)
Want to see every step for yourself? We filmed the whole process—from tearing off the plastic to loading up that first pile of firewood.
📽️ Watch the full DIY utility bed build video below:
Make sure to give it a thumbs up if it helps you, and subscribe if you like seeing real-world, no-fluff DIY projects from folks just like you.
This isn’t TV magic—it’s one long day in the garage, a few sparks, some laughs, and a whole lot of satisfaction at the end.
Why DIY Projects Like This Just Make Sense on a Small Farm
When you live on a small farm like ours here in Missouri—just a few acres, a handful of goats, a busy garden, and a house full of kids, dogs, and dirt—every project has to earn its keep.
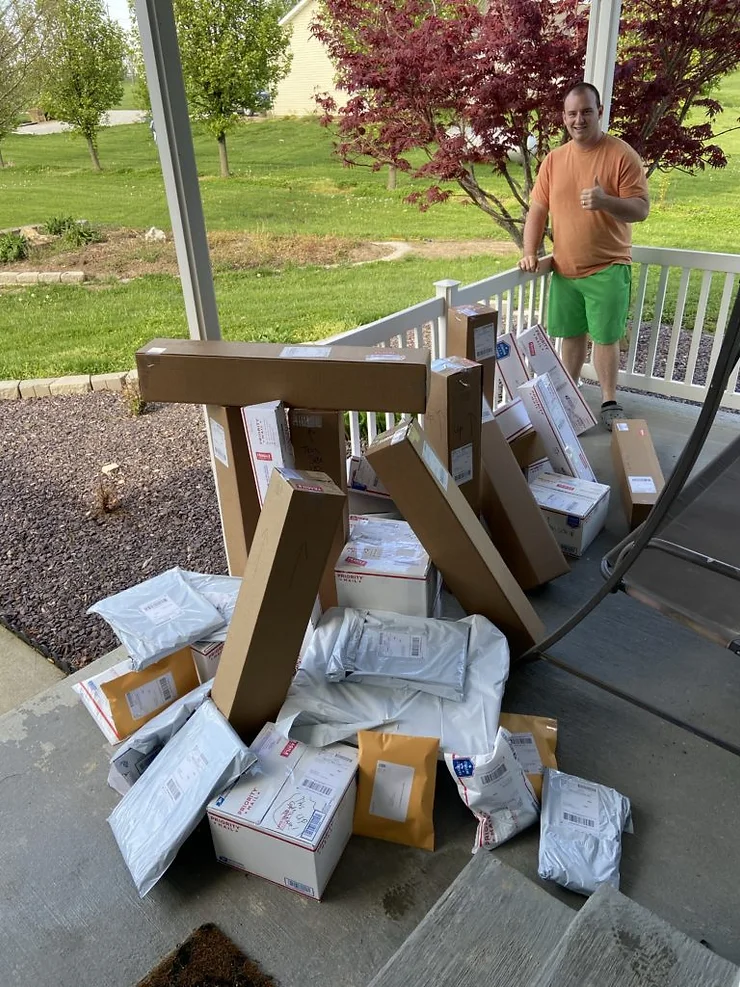
This DIY golf cart utility bed wasn’t just a fun weekend job… it’s something we use every single day. Whether we’re hauling compost from the garden, loading up feed for the goats, or packing up new orders for laser-engraved signs, this custom-built cart bed is doing honest work for our family business.
We run a small nursery, we grow food, we raise puppies with love, and we create custom wood and canvas gifts for families across the country. A project like this fits right into our life—it’s useful, budget-friendly, and built with our own hands.
Built by Us, for Us—And Maybe for You Too
We’re not a big brand. We’re Weaver Family Farms, and we figure things out the old-fashioned way: with hard work, creativity, and trial and error. Projects like this prove that you don’t need a big budget to make big improvements—just the will to get started and the grit to finish.
If this post helps you with your own project, let us know! Drop a comment on the YouTube video
or shoot us a message through our site. We’d love to see what you build.