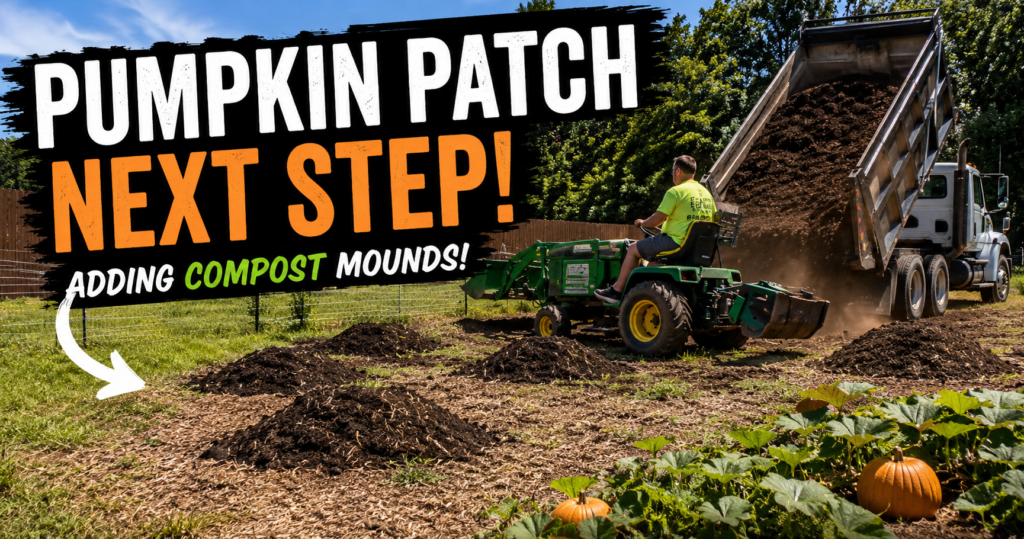
Planting Day Is Finally Here
We’ve been working toward this for a while now. If you missed the earlier post, we spent the last several weeks fencing off a 100 by 40 foot section of our pasture, adding a goat gate, and getting our first dump truck loads of mulch delivered and spread. You can read all about that process in our post on how we built our pumpkin patch from scratch. Today was the next big step — building our compost hills and getting seeds in the ground.
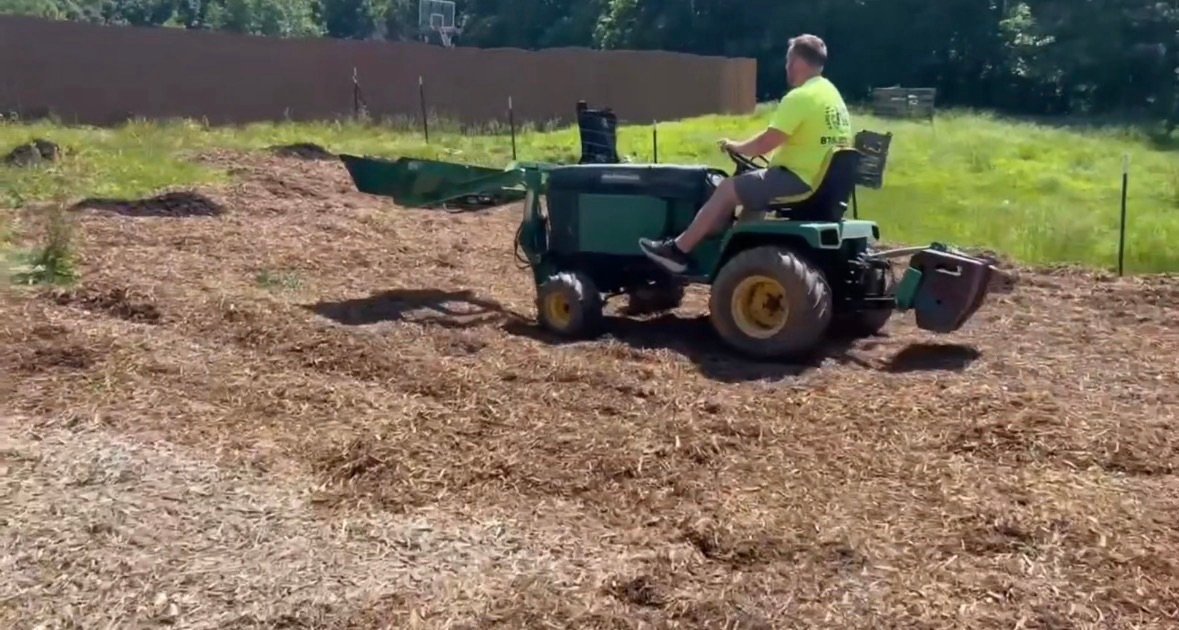
It felt good. There’s something about actually planting something that makes a project feel real. All that prep work, all that fencing and mulch hauling, it all led to this. We got out there today with the John Deere and got it done.
Using the John Deere 430 to Build the Hills
We used our John Deere 430 with the little bucket loader on the front to move the compost and build up our planting hills. If you’ve never done hill planting before, the idea is pretty simple — instead of planting pumpkin seeds in flat ground, you mound up a pile of good soil or compost and plant your seeds right into the top of that mound. The hill drains better, warms up faster in the spring, and gives the roots a really good start in loose, rich material before they work their way down into the native ground below.
That’s especially important for us because the base soil in that patch is heavy clay. We’ve been working on amending it with mulch over time, but that’s a long-term process. In the meantime, building hills from straight compost means our pumpkin plants are starting in something they can actually thrive in right from day one.
We spaced the hills out about 8 to 10 feet apart from each other. Pumpkins spread — they spread a lot. Give them room and they’ll use every bit of it. Crowd them and they’ll fight each other for space and airflow, which leads to more disease problems and smaller fruit. Eight to ten feet gives each hill plenty of room to run without plants running into each other too early in the season.
The loader on the 430 made the hill-building go pretty quick. We’d scoop compost, drive to the next spot, dump it in a mound, and shape it up a little by hand. Repeat. It’s satisfying work when you can see the rows of hills taking shape across the patch.

What We Planted — Three Types of Pumpkins
We didn’t just go with one variety. We planted three different types, and we’re pretty excited about all of them.
Jack O Lantern Pumpkins
These are the classics. Big, round, orange — exactly what you picture when you think pumpkin patch. Jack o lanterns are what most people are after in the fall whether they’re carving them, putting them on the porch, or just grabbing one for the kids. They grow big vines and take up a lot of room, but the payoff is that familiar pumpkin that everyone loves. We’re hoping to have a good supply of these by fall.
Mini Colored Pumpkins
These are the fun ones for decoration. Small, multicolored, and they look great in a fall display mixed in with gourds and corn stalks. People who are decorating for fall love these because you can pile them in a bowl or spread them across a table and they just look great. They’re also a little faster to mature than the big jack o lanterns, so they tend to be ready earlier in the season.
Warty Pumpkins
These might be our favorites just for the look of them. Warty pumpkins have those bumpy, rough-textured surfaces that look almost prehistoric. They come in deep oranges, reds, and greens and they’re incredibly popular for fall decorating because they look so different from a regular pumpkin. They’re sometimes called “knucklehead” pumpkins and once people see them in person they usually want one. We planted a good number of these.
Having three different varieties means we’ve got something for everyone — the classic carver, the decorator, and the person who just wants something that looks cool and different on their front porch.
Why the Hill Method Works So Well for Pumpkins
We touched on this above but it’s worth going a little deeper because if you’re planning your own pumpkin patch, the planting method really does matter.
Pumpkins are a warm-season crop that want well-drained soil and a lot of nutrients. Flat ground planting can work, but it leaves you more vulnerable to standing water around the base of the plant after a heavy rain, and it puts your seeds in direct contact with whatever soil you’ve got at ground level. If that soil isn’t great — like ours with the clay base — you’re starting behind.
Hills fix both of those problems. The mounded shape sheds water away from the plant instead of letting it pool. And if you build your hills from good compost, you’re giving the seeds and young roots the best possible environment to establish themselves. Once the roots push down past the compost layer into the native soil, the plant is already strong enough to handle it.
Some people also plant multiple seeds per hill — usually three to five — and then thin down to the two or three strongest seedlings once they’ve germinated. That’s our approach as well. You plant more than you need up front so you’ve got options, then you let the strongest ones take over.
We’ve written about good soil prep and planting practices before in our post on the benefits and rewards of planting, and a lot of those same principles apply here. Good roots start with good soil, whether you’re talking trees or pumpkins.


The Bigger Picture for This Patch
We want to be realistic about what to expect this first season. The soil underneath those compost hills is still clay. The mulch we’ve been putting down is going to take time to really break down and integrate. This first growing season is part of a longer process of building this patch into something really productive over multiple years.
But that doesn’t mean this year won’t produce. Pumpkins are tough, vigorous plants. Give them a good start in quality compost and the right spacing, keep them watered during dry stretches, and they tend to do well even in less-than-ideal conditions. We’re optimistic.
We’re also planning to get watermelon in the ground next, which we’ll cover in an upcoming post and video. Watermelon follows a similar hill-planting approach, so a lot of what we did today applies there as well.
And down the road, when the growing season is over and we’re done harvesting, we’ll open that goat gate and let the herd come in and work the ground over. That’s part of our rotation plan — the goats trample, fertilize, and help prep the soil for the next season. We talked about how that works in detail in our pumpkin patch setup post if you want to read more about it. You can also read about how chickens boost homestead sustainability for a similar look at using animals as part of the growing system.
Following Along With the Whole Project
We’re going to keep documenting this from start to finish. Planting day is done — now we wait, watch, water, and take care of things as the season moves forward. We’ll share updates here on the blog and on YouTube as the vines start running and we get closer to harvest in the fall.
If you’re working on your own garden or homestead project and need trees or plants, take a look at what we’ve got over at Weaver Family Farms Nursery. We grow and sell a variety of trees and plants that do well here in the Midwest. And if you’re looking for something handmade and personal, our custom wood engravings and signs make great gifts and home decor. We also raise puppies — Cavapoos, Maltipoos, Cockapoos, and more — over at Weaver Family Farms Puppies if you’ve been thinking about adding one to the family.
Thanks for following along. More updates coming as things start to grow.